

Changing your car’s oil is one of the most important parts of vehicle maintenance. Fresh engine oil keeps the vehicle engine running smoothly and protects its parts from wear. With a few basic tools and a little time, a simple oil change can be done at home.
Instead of visiting an express lube shop, many drivers prefer handling car maintenance themselves. Learning how to replace the oil filter, open the oil drain plug, and refill motor oil not only saves money but also helps you understand your car better.
Is it time for an oil change? Here’s how to know
If your engine oil looks dark or gritty, it’s a clear sign your vehicle engine needs attention. Strange noises, like knocking or ticking, can also indicate worn oil. Regular vehicle maintenance, including timely oil changes, keeps your engine running smoothly and prevents costly repairs.
Other indicators include a check engine light, reduced fuel efficiency, or motor oil levels dropping quickly. Paying attention to these signs and replacing the oil filter when needed helps protect your car and ensures safe, reliable performance. Following trusted guidance from automotive experts strengthens confidence in DIY maintenance.
What will you need for changing your car engine oil?
Having the right tools makes your oil change safe, fast, and stress-free. You’ll need an oil filter, oil drain pan, basic wrench set, ratchet and socket set, and an oil filter wrench or pliers to get started. Wearing nitrile gloves keeps your hands clean, while magnetic lights help you see under the car.
If you’re not using a lift, a jack with jack stands and a creeper make working underneath much easier. Keep brake cleaner and a plastic clip removal tool handy for any under-engine shields or covers. Preparing all these items beforehand ensures a smooth, efficient, and safe vehicle maintenance experience.
How to change oil in 6 simple easy steps
Follow these easy, step-by-step instructions to safely drain old oil, replace the filter, and refill fresh engine oil. Whether you’re a beginner or just looking to save time and money, this guide makes car maintenance simple and stress-free.
Step 1: Prep for the oil change
Before you start, it’s important to prepare everything for a smooth oil change. Gather your tools, check your supplies, and make sure your vehicle is ready. Taking the time to prep makes the process faster, safer, and easier.
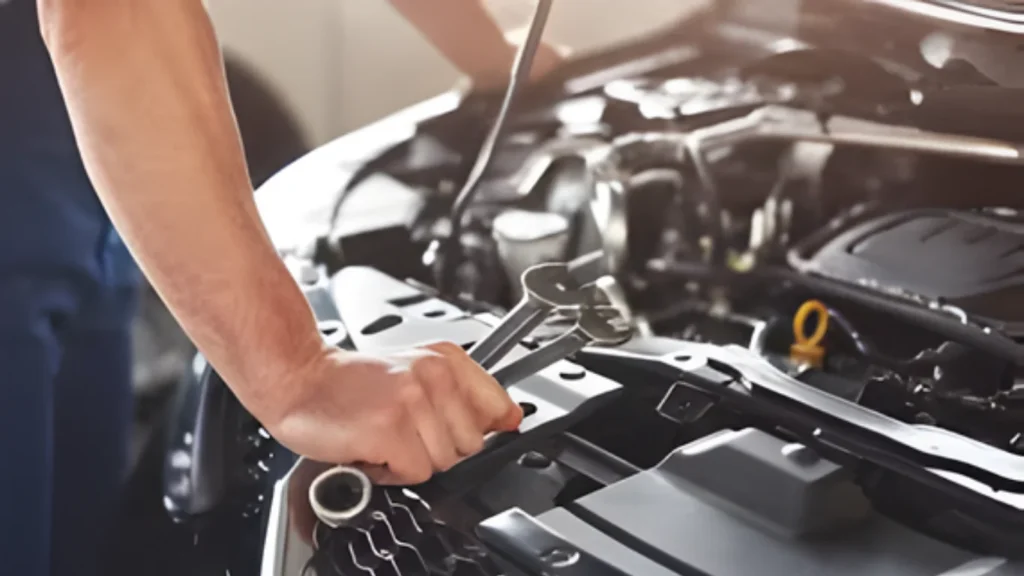
Determine your vehicle’s engine displacement
- Open your vehicle’s hood and locate the engine; this is where the displacement information is often noted.
- Check the owner’s manual for detailed specifications about your engine size and type.
- Look for the Vehicle Emission Control Information sticker; it usually lists the engine displacement in liters.
- Use a VIN decoder online to find out your engine details quickly and accurately.
- Compare the information with your vehicle’s trim level to ensure you have the correct engine size for your model.
Determine the correct oil type
Choosing the right oil keeps your engine running smoothly and efficiently. Follow these tips to make the best choice:
- Check your owner’s manual to see the recommended oil type and viscosity for your vehicle.
- Understand viscosity numbers like 0W-20 or 5W-30, which indicate how the oil flows at different temperatures.
- Decide between conventional, synthetic, or blend oil depending on your engine’s needs and your driving habits.
- Consider full-synthetic oil for better performance and longer intervals between oil changes.
- Look at engine performance and consistency—the right oil helps your engine run quieter and more efficiently.
- Factor in cost, but remember that investing in quality oil can prevent expensive engine repairs.
- Ask your dealership or do a quick Google search if you’re unsure about the ideal oil for your specific car model.
Determine the amount of oil needed
- Start by consulting your vehicle’s owner’s manual to find the exact oil capacity recommended for your engine.
- Remember that using too little oil can increase friction and heat buildup, potentially leading to premature engine failure.
- Avoid overfilling, as excess oil can affect component functionality and may even cause hydro locking.
- If you’re unsure about the correct amount, check online or call your dealership for guidance.
- Rely only on reputable sources when looking up oil specifications to keep your engine running smoothly.
Step 2: Jack it up, open it up

Use proper lifting equipment such as a car lift, vehicle hoist, ramps, jack stands, or a floor jack before starting maintenance. Stable support improves vehicle safety while working underneath. Organized garage practices and reliable vehicle support equipment reduce risks during mechanical tasks.
Modern cars often include a plastic undertray that protects the engine underside and improves car aerodynamics. Removing this cover allows access to the oil pan, oil filter, and other engine components. Careful handling of bolts, screws, and plastic clips prevents damage.
Before continuing maintenance, inspect the vehicle underside for oil leaks or unusual residue. Early checks help identify engine oil system issues and prevent costly damage. If anything seems unusual, schedule a vehicle inspection with a qualified automotive mechanic for proper repair.
Step 3: Unplug it, drain it

Begin an engine oil change by positioning an oil drain pan or five-gallon bucket beneath the crankcase. Carefully loosen the drain plug using a proper wrench. Allow engine oil to flow smoothly into the receptacle, preventing spills and supporting clean, responsible DIY car maintenance.
During automotive maintenance, slowly unscrew the oil drain plug with a socket wrench and guide the draining liquid into a stable oil collection container. Let used motor oil trickle completely from the oil pan, ensuring proper lubrication system care and safer vehicle servicing.
After draining finishes, secure the drain plug firmly and transfer used engine oil into a sealed liquid-holding container. Take the waste fluid to a trusted auto-parts store for disposal, promoting environmentally responsible handling while keeping your vehicle maintenance routine efficient and professional.
Step 4: Off with the old filter

During routine automotive maintenance, locate the cylindrical oil filter inside the engine compartment and use an oil-filter wrench to loosen the threaded filter with counterclockwise rotation. Allow oil flow to drip into a drain container while carefully removing the filter housing to prevent spills.
After removing the old filter cartridge, inspect the rubber O-ring or gasket for wear. Clean the sealing surface and place the new oil filter into the housing. Proper installation protects the engine oil system and helps avoid leakage during the next startup.
Complete the oil replacement procedure by checking the drain plug and ensuring the oil drainage system works smoothly. Dispose of used oil responsibly and monitor the engine after ignition. Correct sealing and lubrication prevent oil starvation, reduce mechanical failure risks, and support long-term engine reliability.
Step 5: Check the oil level, check for leaks

Regularly checking your engine oil ensures smooth vehicle performance and prevents leaks. Use a clean paper towel to inspect the dipstick marking after warming up the engine. Proper circulation maintains oil level, and a well-fitted filter component protects vital parts, enhancing automotive care.
Performing an oil change yourself saves money while boosting confidence in DIY maintenance. Pour fresh oil, run the engine briefly, and recheck levels for accuracy. Consistent vehicle service supports longevity, reduces unexpected repairs, and reinforces smart personal finance and overall car maintenance habits.
Step 6: Fill it back up with oil
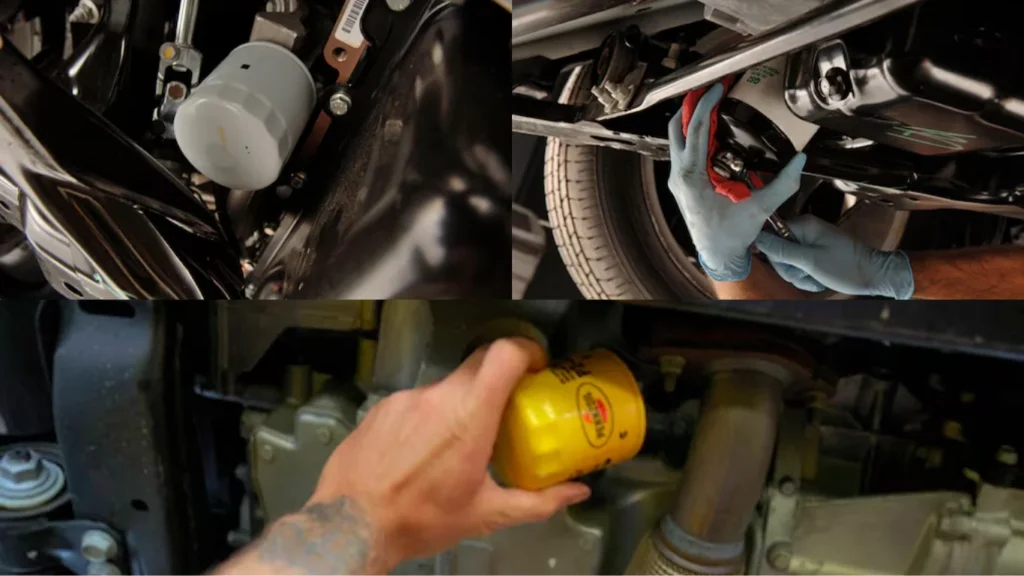
Mechanics remove the oil filter and drain plug carefully, checking the engine’s oil level. Using a funnel under the hood ensures clean filling without spills.
Before topping up oil, inspect the oil-cap and observe the oil-can symbol. Follow the manufacturer’s recommended type and volume, ensuring proper engine lubrication. Routine checks maintain performance, prevent damage, and keep the vehicle running efficiently while preserving its mechanical integrity.

Take Your Ride to the Next Level
Transform performance, boost efficiency, and drive with confidence. Expert tuning and upgrades from Diamond Touch Auto Spa keep your engine running smoother, faster, and longer.
Avoid costly oil change mistakes every driver in Connecticut
Keep your car running smoothly and save money by avoiding common oil change errors in Connecticut:
- Skipping engine warm-up before draining oil
- Using the wrong filter or oil grade
- Overfilling or underfilling the engine
- Ignoring leaks or worn components
- Delaying regular maintenance checks
Save money and extend engine life with regular oil changes
Modern cars rely on a plastic undertray to protect vital engine components while improving aerodynamics. Regular oil changes prevent sludge buildup and engine impurities, ensuring smooth operation, efficient heat dissipation, and reduced wear, ultimately extending engine lifespan and saving repair costs over time.
Maintaining clean oil enhances fuel efficiency, minimizes engine strain, and prevents overheating or warped parts. Inspecting the underside for leaks and replacing filters on schedule supports reliable performance, lowers the risk of engine failure, and keeps vehicles running efficiently while reducing long-term maintenance expenses.
Recommended maintenance
Intervals: Change conventional oil every 3,000–5,000 miles and full synthetic up to 10,000 miles, adjusting for driving habits and climate conditions.
Preventive Care: Regularly inspect oil levels, check for leaks, and use the manufacturer’s recommended grade to maximize engine performance, reduce wear, and maintain warranty coverage.